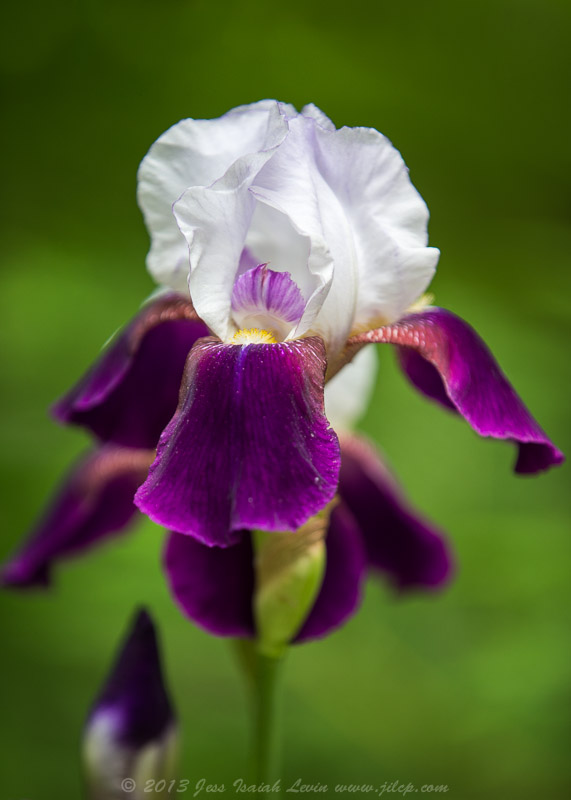
Today I did some quick work with my 100 L, trying to create some "atmosphere". Here's a hydrangea in the foreground, with some other flowers in the background blurred into a color wash.
This fingertip-sized bud was asking to be featured and compared with the larger mature blossom near it. The image has not been manipulated in Adobe Photoshop®. I adjusted the raw file's "normal" parameters (exposure, highlights, whites, clarity, vibrance) in Adobe Photoshop Lightroom® to emphasize the impression made by the existing light.
I wonder if I'm the only user of Adobe Photoshop Lightroom who wishes that they had named the "Vibrance" adjustment "Vibrancy". At any rate, this is an excellent feature that Adobe introduced a few years ago. It permits raising (or lowering) the color saturation, but with protection of skin tones (of obvious importance for portrait photographers like me), and generally affecting blues and greens more than reds. Also, for all hues, the Vibrance slider can increase saturation of pale tones while leaving already heavily saturated colors alone, avoiding clipping. (In this context, clipping would mean that the value of one color channel may already be as high as it can go in certain areas of the image, so increasing the color saturation throughout the image would require pushing the value in those areas out of the possible range, resulting in color shifts and flattening of the luminance curve.)
My next version of this same photo did receive some "massaging" in Photoshop. I selected the background and made a new layer in overlay mode. With no change to the foreground, it adds impact through contrast. It may be too much for this one. In print, I would probably choose a compromise between the two versions.
Permalink: http://jilcp.blogspot.com/2013/05/changing-of-guard.html


So you did alter the photo using Adobe Photoshop...or you didn't. Unless you're schizophrenic, you can't have it both ways. In any case the photos are lovely!
ReplyDeleteThe first version is "unPhotoshopped", the second one is Photoshopped. I should make it clear that I'm referring to two completely separate Adobe programs. "Adobe Photoshop" enables just about any kind of alteration you can imagine. "Adobe Photoshop Lightroom", usually known simply as "Lightroom", is cataloguing and raw conversion software. Massaging an image in Lightroom could be compared to the things we did decades ago in photo darkrooms with a single negative or slide. In Photoshop, among other things one can create multiple layers, all visible to various degrees. It's something like the way cartoon artists used to draw on transparent celluloid. Stacks of "cels" were moved around and photographed to make the individual frames of a movie. I wasn't simulating motion here, but using a separate layer to modify a background without affecting the foreground.
DeleteActually, you were pretty clear the first time. I just couldn't resist poking you a bit. I've played around with a freeware called 'GIMP' and worked with multiple layers. The results have been satisfactory but by no means as professional looking as what you do!
ReplyDeleteYou understand what's going on, then. Some of my other followers may not be as familiar with image editing software, so it was worth adding some explanation.
DeleteLovely flowers, Jess. Very artistic use of DoF, especially such shallow depth. It inspires me to go more in that direction.
ReplyDeleteKen